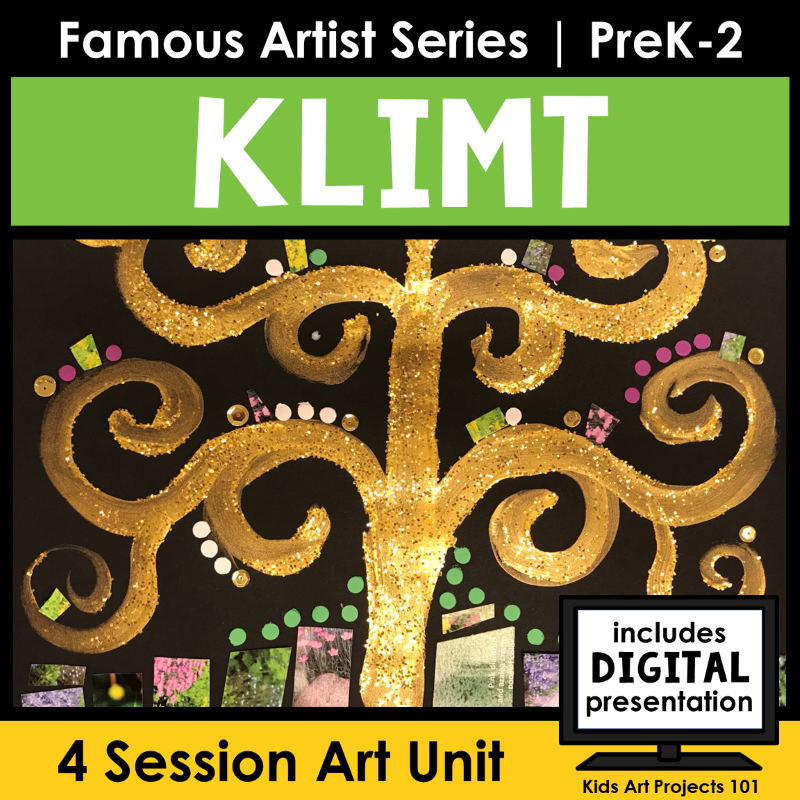
This Gustav Klimt Tree of Life Art Project for kids is part of my first grade curriculum. Because it is very visually distinct, it is excellent for young kids who are ready to create and explore new styles.
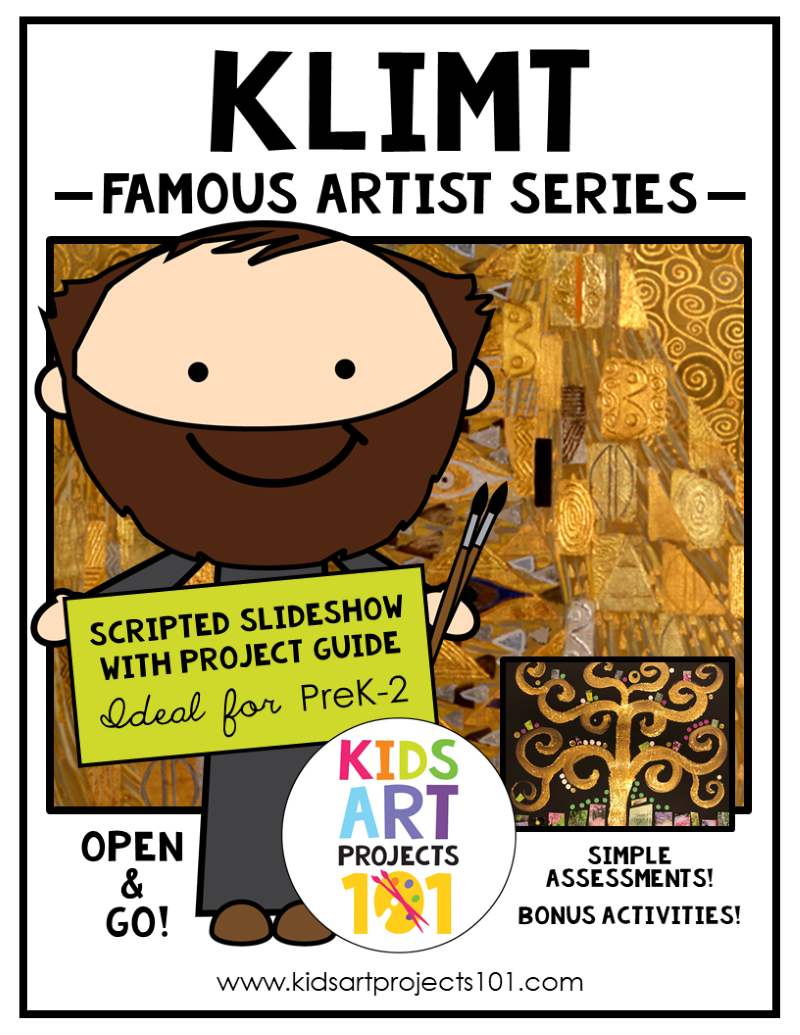
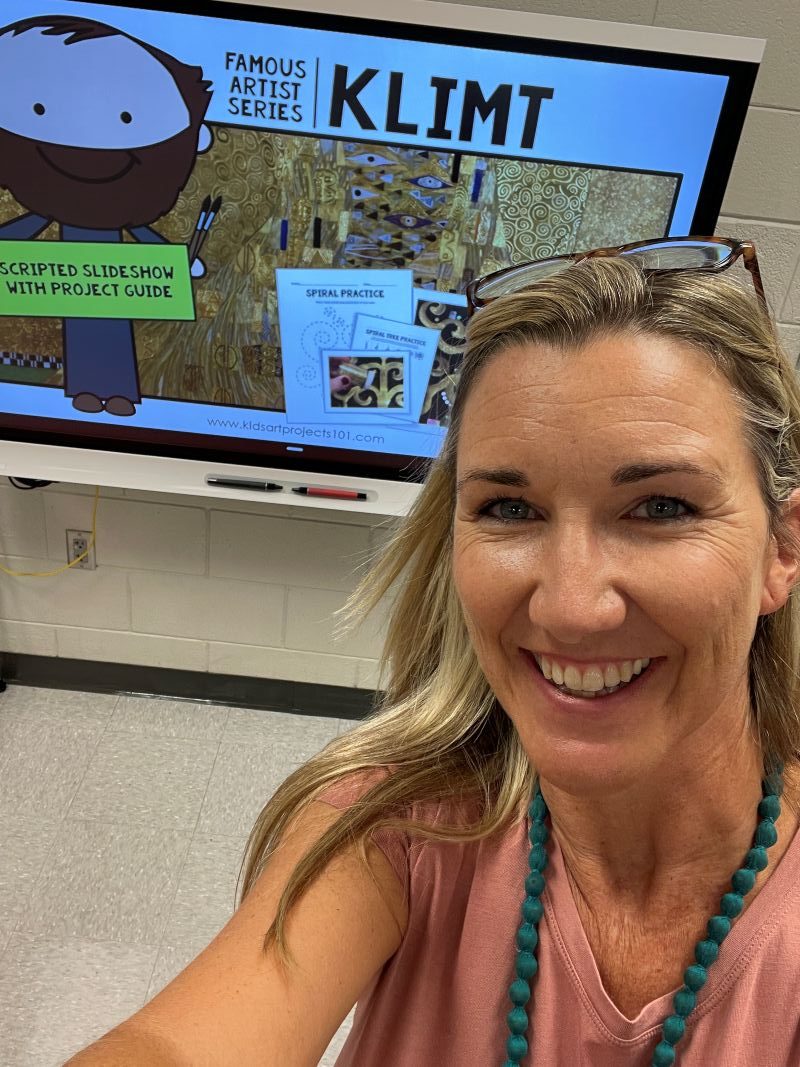
Famous Artist Series from Kids Art Projects 101
This approach is awesome because it layers art history connections with guided instruction about the elements of art and principles of design. The scripted PowerPoint format can be easily utilized in a variety of settings. In this video I share specific tips and considerations to help you implement the unit with ease.
Watch the video, or read the transcript below if you prefer.
~VIDEO TRANSCRIPT~
Hi Everyone,
I’m excited to present to you our 4th Installation in our famous artist series. This one’s all about Gustav Klimt. The purpose of this video is to give you an overview of how I’ve set up this unit so that once you start it with your kiddos you can just hit the ground running. So let’s dive right In.
This project is divided into four sessions. In my setting, I have 40-minute blocks so really I’m planning this out for four 40-minute blocks. If that doesn’t work for your setting, you are welcome to give this a listen and figure out how you could modify that for your setting. It should be pretty flexible. I’ve tried to make it so.
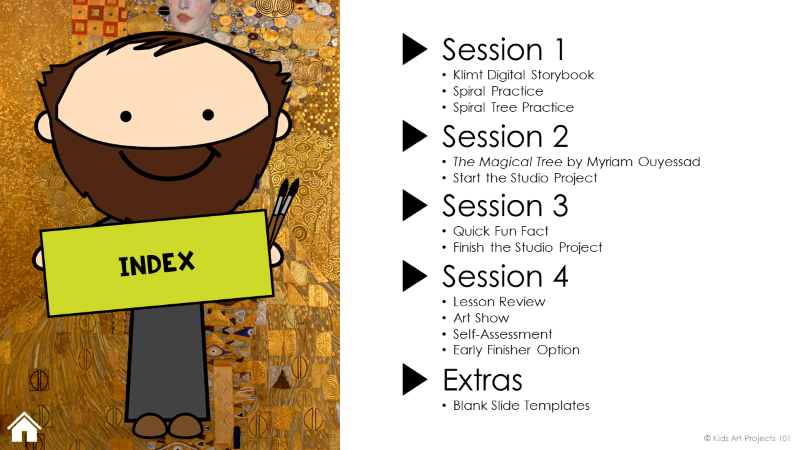
GUSTAV KLIMT TREE OF LIFE ART PROJECT SESSION 1
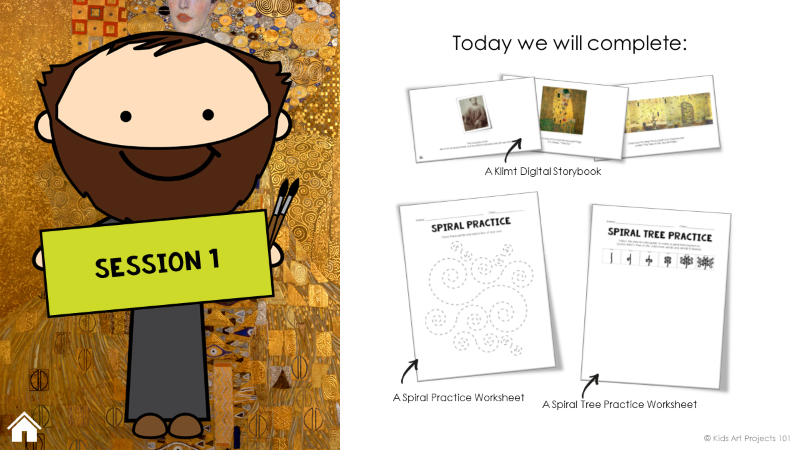
In the first session, you’re going to be reading a digital storybook where you’re going to present some of Gustav Klimt’s most famous works. The Kiss, of course, is one that most people end up recognizing. That’s the very first one you’re going to look at.
Right away you see him using this gold paint and these Art Nouveau graphic patterns. The figures, the clothing, these are cloaked in fabric. I show a couple of other pictures that are of that style. Females wrapped in fabric.
You want them to look at the patterns and the embellishment and really the idea that he was painting with gold leaf. He was adding metallic to his image.
Then you are going to transition into a little talk about his tree paintings. I present a bunch of tree paintings that he did that I could find online and then ultimately we transition into his really famous Tree of Life mosaic. It was designed specifically for this palace dining room. So there’s one here and one almost identical one on this side. There are some differences between them.
He also made a narrow panel that went on the third wall in this big dining room. We look close up at the Tree of Life and you’ll notice that there’s this tree trunk with these big spiraling branches. So that’s really the whole purpose of the digital storybook.
You get a look at his other paintings but then really narrow their attention to the Tree of Life painting because this whole project that we’re extending from our Gustav Klimt study is inspired by the Tree of Life.
So you want them looking at those spiral lines in his branches in that painting because, ultimately, we’re going to be trying to work with some spirals. So as soon as you’re done with the digital storybook in Session One, you are going to offer the kiddos an opportunity to practice some spirals. So you want them practicing little spirals and big spirals.
Spirals that go to the left and spirals that go to the right and curl up, curl down. If you don’t want to print these, you could do this on a plain piece of paper. But the nice thing about these guides is that, especially for your youngest artist, it really offers that support to help them have a little tracer, but some kids already have the hang of it and that wouldn’t be necessary.
So, you know your kids. As soon as you get them practicing some spirals and, by the way, if you want to get some movement in there, you could physically get them up out of their seats and practicing with their hands in the air.
You can start really little and then get really big. You can have fun with it if you really want to. If your kids really get a kick out of that kind of movement, they could trace them in the sand.
There are tons of things you could do with spirals. You can look at little seashells. So feel free to kind of branch off with the whole spiral study, but ultimately, you want them to practice how we would make a spiral tree.
So I recommend, if you have the time, that you give them a chance to try this. I have two variations of this. One with this dash guide and one without. You can offer both and let kids choose which one they want or you can scaffold it.
Start with this one and then move up to the other one that has no guide. I would recommend doing whatever you think your kids will benefit from. It walks you through, at the top, a recommended sequence.
Ultimately it’s not critical that their tree looks just like this one. It’s just critical that they have time to practice that. That will wrap up the first session.
They’re going to be trying to paint this spiral tree so as much practice as they can get drawing with it during Session One is going to serve to their advantage.
GUSTAV KLIMT ART PROJECT SESSION 2
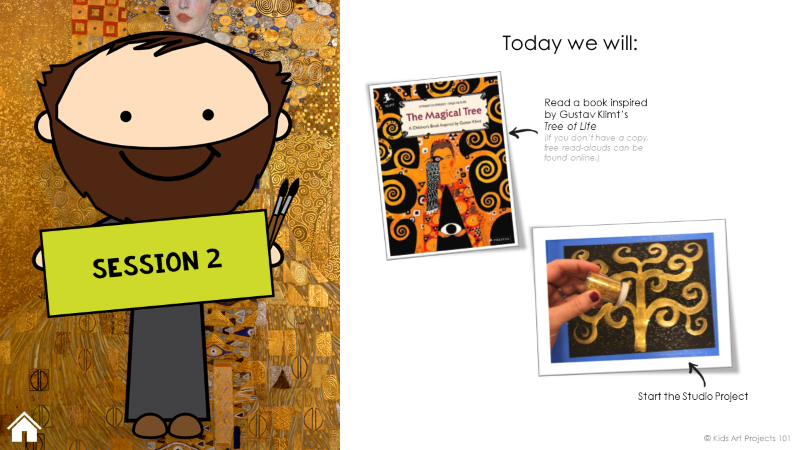
When they come back they’re going to look at a little story called The Magical Tree which is a wonderful story. I think it was written in 2016 by an author who was inspired by Gustav Klimt’s Tree of Life. How fun is that?
So it’s a cool story that imagines the origin of this magical tree. How did this tree get to be so wonderful with these spiraling branches? How did it end up where it is? It’s a fun look at what might have been the origin of the tree.
So you can get them thinking, since this story isn’t true, what do you think the origin of the tree is and and that could be something fun to have them thinking about while they’re actually starting on this painting.
Start The Studio Project
So once they’re starting on the painting, you’re going to give them a black piece of paper. In the real one, the background is not dark.
So that’s up to you. I worked with black. I started with a 9×12 sheet. I would recommend using 9×12 or bigger because you really want to give them some space to build those spirals out.
With a brush, it’s hard for them to make real little intricate ones on a small piece of paper. So you’re going to put a paper plate or some kind of little palette out, with just a little squeeze of paint, gold paint preferably, if you have it. If not, yellow or brown.
On black paper, you could use white paint. I did that at first and it works just fine. It’s lovely. So in a pinch, you could avoid the metallic paint but the metallic paint is fun and it’s not that much more expensive.
I have five kindergarten groups. We didn’t even get through one 12 oz container of metallic gold paint. You don’t need that much per kid.
So they’re going to dip their brush into the paint and you’re going to either put a sample up or guide them step by step through, or have them work from their imagination. You’d be surprised that tons of them get the concept.
Okay, we’re making a tree. They have fun with it. Then you might see some loop-de-loop branches or some crazy-looking branches but the important part is that you’re telling them that they’re ultimately aiming for the spiral tree that is inspired by Gustav Klimt’s Tree of Life.
If they’re making a good tree, even if it looks like a Christmas tree or a big crazy mess, you can’t ignore the smile on their face. They just love it no matter what. So that’s the important part. Make sure they’re having fun with it. They’re adding, in a perfect world, spirals on top of spirals on top of spirals.
Without rushing them, you need to keep them moving along because before that paint dries they’re going to move over to a glitter station. Usually, if you tell them there’s a glitter station right after the paint station, they’re going to move. They want to get to that glitter. They have so much fun with glitter.
So while the painting is still wet, the idea is you want them to bring out their picture and set it down in a tray, a box, a lid, or anything that has a little edge because they’re going to sprinkle glitter all over the wet paint and give it a little shake.
Then tip all the excess back down onto the tray so the tray keeps it contained from going all over your tables and floors. It’s going to go on your tables and floors either way.
It’s going to get on their hands but this at least keeps the bulk of it contained. You’re going to wake up with it in your hair. It’s glitter. But have fun with it.
You leave the pictures to dry and that marks the end of Session Two. So basically Session Two is just reading that story and then painting and glitterizing the tree. Leave it to dry.
GUSTAV KLIMT ART PROJECT SESSION 3
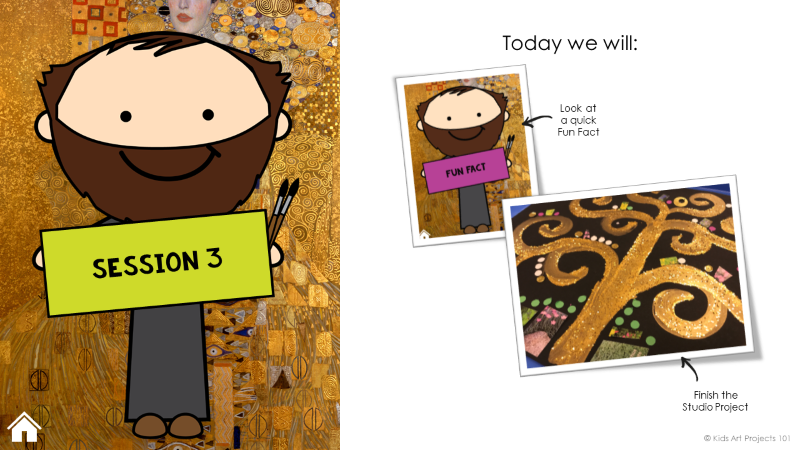
Finish The Studio Project
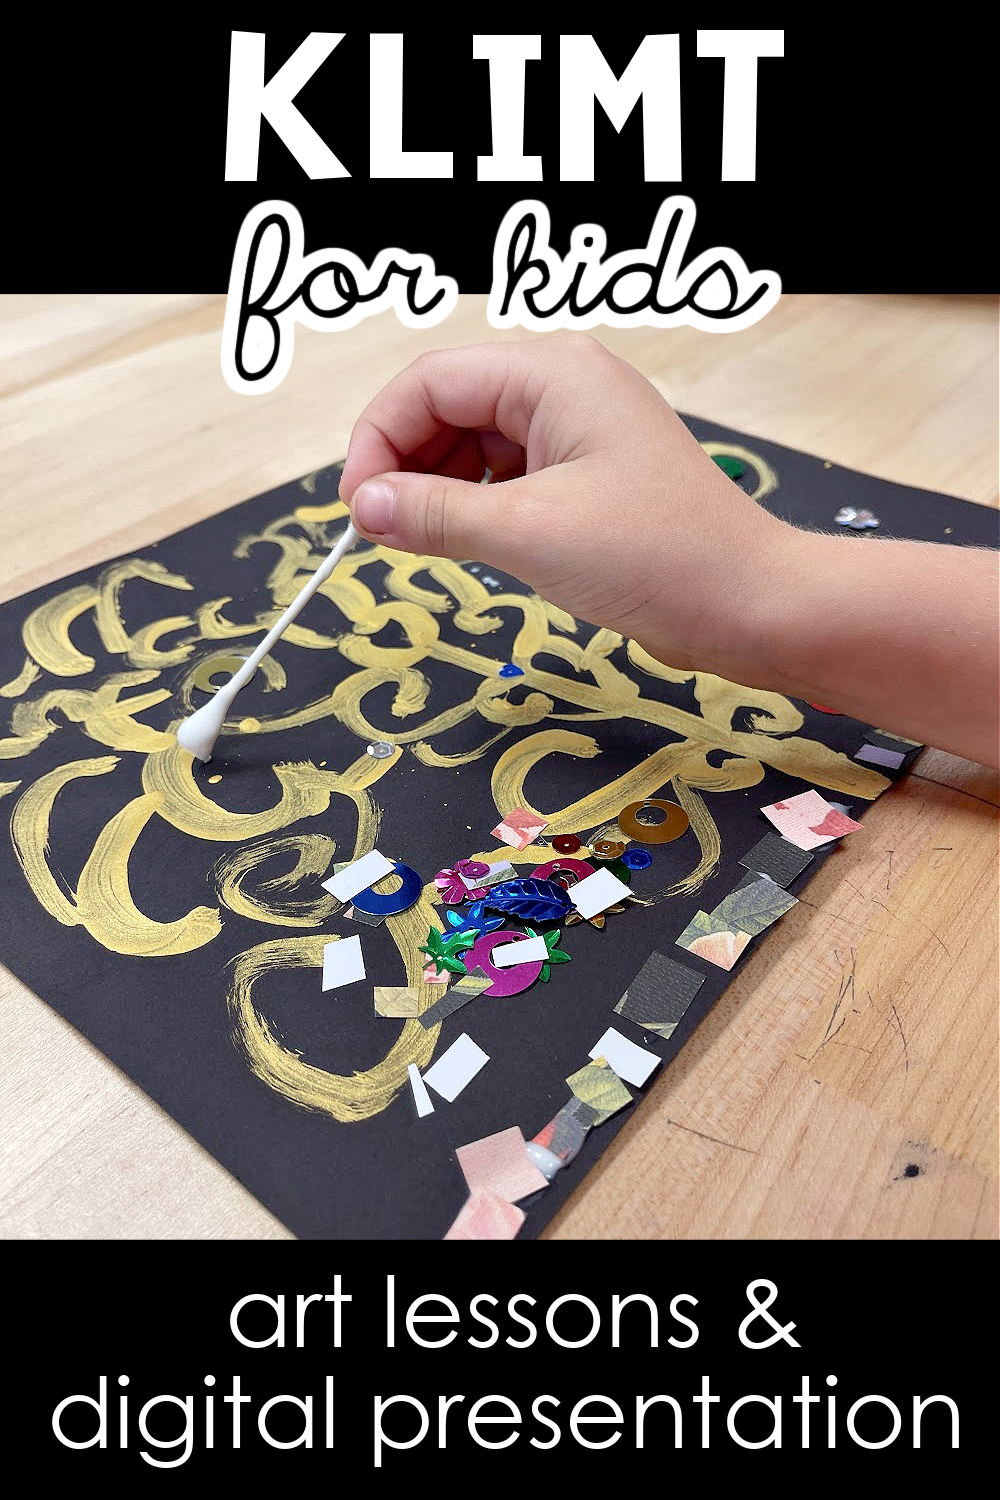
In Session Three they’re going to come back and they’re going to embellish the tree. You’re going to start out with a little fun fact about how the real Tree of Life is not actually a painting. It’s a mosaic. You can introduce that vocabulary word.
What is a mosaic? I’m from Orlando, Florida so kids in my area seem to connect immediately with the Cinderella’s Castle at Disney World. There’s this tunnel that has mosaic walls but your kiddos might have the connection to some other mosaic in their life.
Sometimes patio tables have that mosaic tile on the top. They might recognize it from something at church, or they’ll surprise you. You can feel free to insert more immediate things they might connect to from your setting into the slideshow.
Then the idea is you want to hone in that a mosaic is essentially little components of things added together. Ceramic tile, glass, piece by piece by piece. So we’re going to be in that line of mosaic approach, adding little things into our tree to bring some life to it.
The sparkle is already giving it a lot of life, but we’re going to add some magazine papers, hole punches, and sequins to this tree to embellish the ground, leaves, and top area. So, I recommend you set out three plates.
One with cut-up magazine papers, one with three-hole punches that come out when you’re punching holes, and one with metallic sequins. You can offer lots of different colors of all of those, or you can be very particular about it.
Of course, keep in mind that kids can cut up magazine paper and punch holes, but you really want the bulk of their energy in the third session to be on embellishing their tree. So, I personally recommend setting up the magazine cuttings and the hole punches in advance so that they can start right away.
What I do is, I put out a little card, drop some school glue on it, and then offer them a cotton swab. So they dip it in the glue and then they place dots of glue where they want to add things.
Then they take a sequin, drop it on a place where they added glue, take a hole punch, add it that way. You might come up with a different approach.
You want them, as delicate as possible, working around that glitter tree because you know if they touch that glitter tree (they are going to touch the tree) but you want to as best as you can encourage them to work around the tree, to leave the glitter, so that the tree is looking at sparkly as possible.
Their fingers are going to get sticky while they work so you want to give them open access to the sinks to rinse off their fingers. Maybe a paper towel if they have actual hole punches or magazine pieces stuck. They need to get that off. You don’t want that going down your sink.
But some of them will need to wash their hands two or three times while they’re working, so just anticipate that. That embellishment process is all part of the third session.
GUSTAV KLIMT ART PROJECT SESSION 4
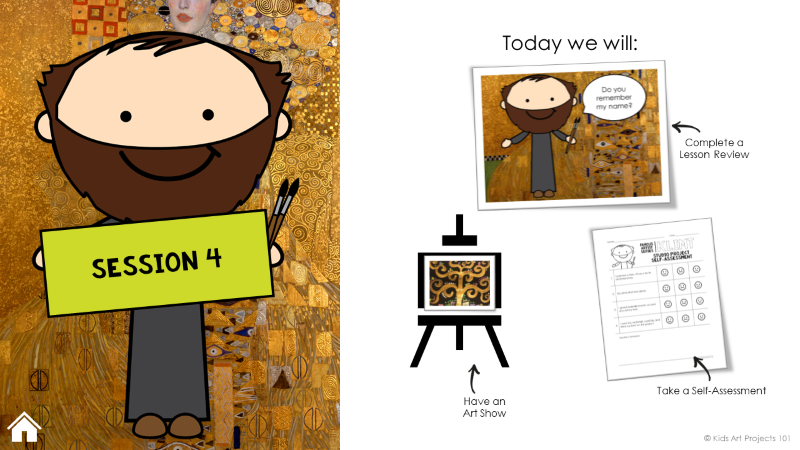
So you’re going to leave that there to dry and the fourth session we’re wrapping it up. You’re going to do a little lesson review. Feel free to customize that if you want. I put some blank templates in there if you want to add some review details. Then you’re going to have an art show.
Art Show
We have all the kids spread out their work on the floor or on the table and help them understand the idea that there are lots of solutions to the same challenge and that there’s no wrong answer. It’s fun to get ideas and inspiration from how other people handle certain things and just give them a chance to talk about it.
I offer some questions that you can use to guide a critique if you want to. You can modify those if you can think of better things to ask them. Or, maybe follow up and ask, “Did any of you really think of an idea of where this tree might have come from? Where did your tree come from?”
Give a couple of them a chance to share what they had daydreamed about.
Self-Assessment
After the art show, you can present an assessment if you feel inclined to do so. You can either have these printed out, one per kid, or you can put this on a screen and have them go through it together in a whole group format. The prompts here are pretty simple.
- I painted a tree. It has a trunk with branches.
- My artwork shows spirals.
- I glued embellishments on and around my tree.
- I used my materials carefully and I tried my best on this project.
So the bottom is a big open box for you to comment or give some direct feedback to each individual kid. If you’re working with a really small group, that may be totally feasible. If you have a really large group, then you might want to pass on this part.
It’s up to you. If you did choose to print it out, it could go home with the finished project. You want to be mindful. I have my little sample right here.
Look how sparkly that is, but as I’m sitting here, I can hear a little glitter falling on the table down below. Just brace yourself. It’s glitter. You might want to give them a piece of construction paper folded in half to work as a folder to protect this as it makes a journey home.
Early Finishers
There’s one little early finisher activity that I built in there. It is just a look at another book. It is adorable. It’s called Klimpt and his Cat. He included a little photo. There’s a famous photo of him holding up his cat.
This story is from the viewpoint of the cat. The cat makes observations about Gustav in his art studio. It’s an adorable story. I felt The Magical Tree tied in much more directly to our approach to painting a tree but this other story is relevant and cute and totally ties into Gustav Klimt, so if time permits at any point during any of these four sessions, that’s another fun option to consider.
There are YouTube read-alouds available so if you want to put that on while you’re helping kids clean up or help a couple of kids catch up, that is something for you to be aware of.
So that is the beginning, middle, and end of the Gustav Klimt Tree of Life Art Project Unit. I hope you have fun with this. If you have any feedback, questions, or suggestions, I am all ears.
I worked really hard to put this together so I would love to hear your thoughts if you work on it with kids and would be willing to take some photos and share them. I would be thrilled to see what you come up with. Other than that, I hope you have fun with it. I’ll see you next time!
More About the Gustav Klimt Art Unit
Engage little artists in a project-based study of Gustav Klimt and the Tree of Life painting in this series of elementary art lessons. Use the done-for-you digital storybook to introduce students to a brief history of Klimit and his art work. Then use the digital presentation with step-by-step art project directions to guide young artists as they use metallic paint, glitter and sequins to fill a page with a sparkling, expressive tree of life art project.
Inside the unit you’ll find a 25-page unit guide full of information and tips for teaching this series of elementary art lessons to students in preschool through grade 2.
✨You don’t need a lot of background knowledge of the artist or art curriculum, and you don’t have to do any extra research to teach these art lessons. I’ve included all the details here for you to open and go. Think of how much time you’ll save on planning!
The unit is broken down into four 40-minute sessions.
For each session there is a guided presentation that has already been prepared for you and can be used via Google Slides or PowerPoint. The presentation also introduces and guides you through completion of a studio project and follow-up activity.
The 144-page combined PDF and Google Slides full resource includes:
- An original digital storybook designed to expose students to famous artworks and details about Gustav Klimt
- A printable “Spiral Practice” worksheet
- Two printable “Spiral Tree Practice” worksheets (one with a tracer guide, one without)
- A literacy connection
- A digital step-by-step studio project guide with clear directions, supply lists, and work sample photos
- A quick fun fact
- A digital lesson review
- An art show prompt with guided questions
- A printable self-assessment
- Early finisher suggestions
- Blank slide templates

 Ming Vases Chinese Porcelain Art Project and Elementary Art Lessons