This Robert Indiana Art Project is part of my first grade art curriculum. Because it it is such a process-oriented project, it is excellent for young kids who enjoy working with their hands and stretching their creative minds!
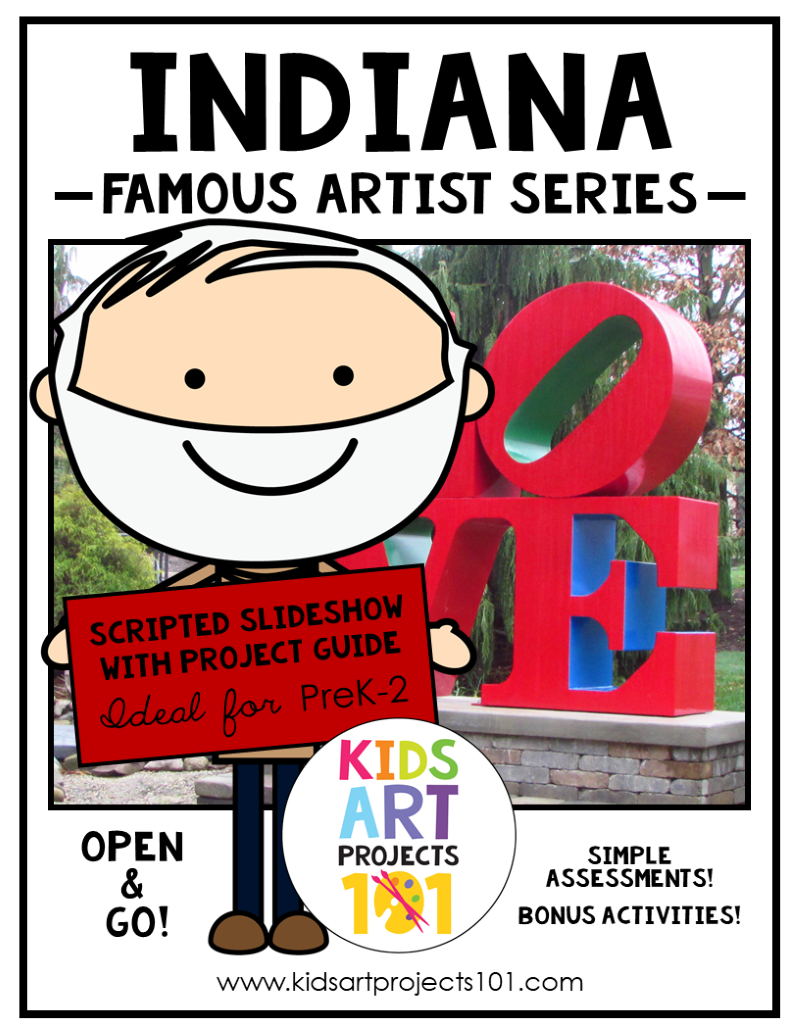
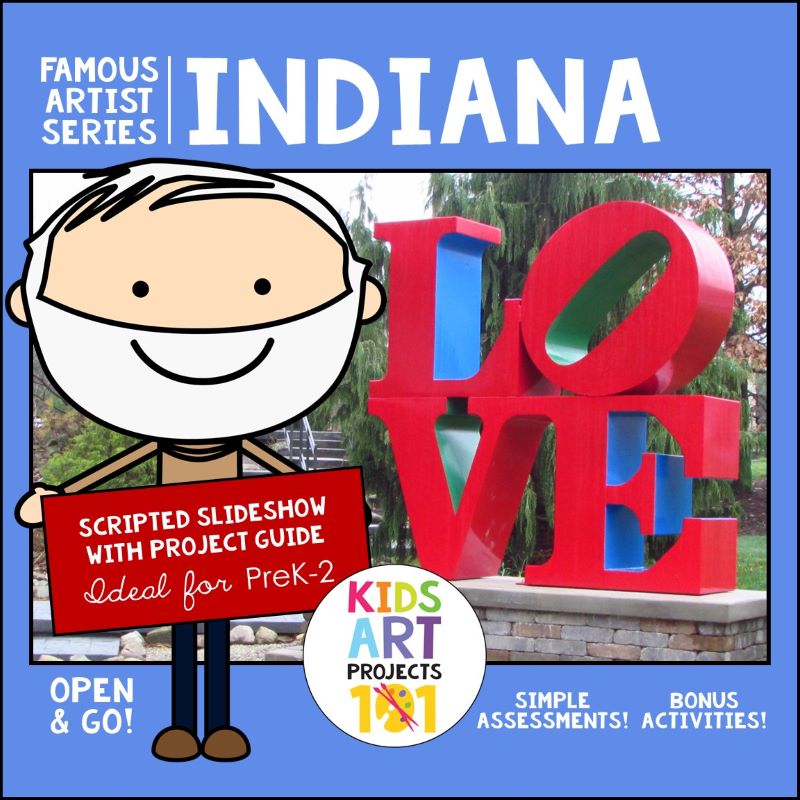
Famous Artist Series from Kids Art Projects 101
This approach is awesome because it layers art history connections with guided instruction about the elements of art and principles of design. The scripted PowerPoint format can be easily utilized in a variety of settings. In this video, I share specific tips and considerations to help you easily implement the unit.
Watch the video, or read the transcript below if you prefer.
Hi Everyone,
I am super excited to present to you the 14th installation in our famous artist series. This one is all about Robert Indiana. The purpose of this video is to give you an overview of how to set up the unit so that once you start it with your kiddos you can hit the ground running. So let’s dive right in. I’ve organized the whole thing into four distinct sections, ideally, 40 minutes each. But I purposely tried to make every single part of this unit modifiable in case you need to change this up to meet your needs.
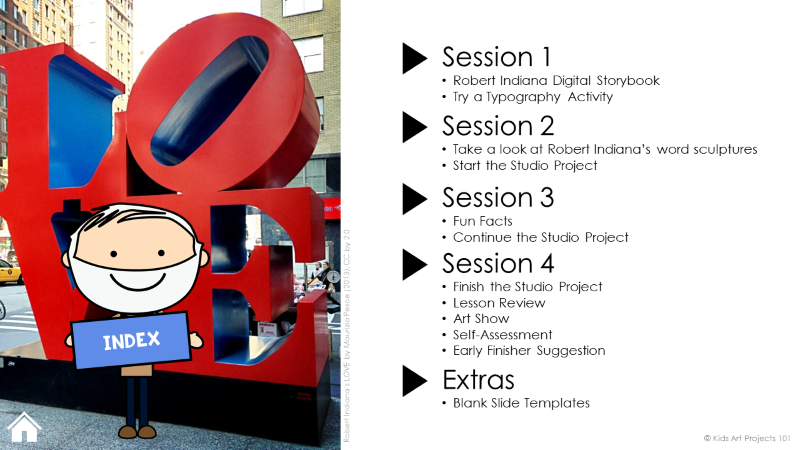
ROBERT INDIANA ART PROJECT SESSION 1
Digital Storybook
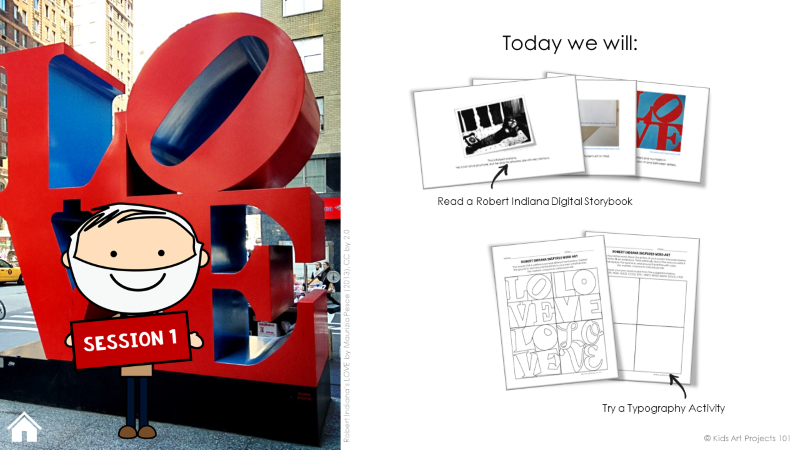
The first session is all about presenting a digital storybook where you are going to be exposing kids to a ton of works by Robert Indiana, the ones that fall into the two-dimensional category.
And really, the whole focus of that digital storybook is to get the kids thinking about typography, and the idea of letters and words written in an artistic way, and thinking about the shapes inside letters and around letters and how letters fit together.
For a lot of them they spend so much time at school learning and focusing on how letters are formed, this may be the first time that they’re really thinking about how letters can be artistically formed and how the art of typography itself is an art form.
Typography Activity
So after you get through the digital storybook you’re going to present two typography-based exercises. They are choices set up so you present both and you allow the kids to choose one or the other. If time permits they’re welcome to do both.
The first option looks like this and as you can see it has the word LOVE written four different times. And what you want them looking at with this one.
It is just the differences in the shapes between these letters and inside these letters so that they are really getting a strong sense of how typography can affect the overall look of a word, the feel of a word.
The other option for this session is a blank box. So in this case you would be inviting kids to pick their own word and space it out.
If they wanted to choose the word LOVE they would write l-o-v-e but what they would be doing in this one is thinking very artistically about shapes of those letters, trying to get them really big, trying to get them to take up that space and really put this compositionally together within the artist mindset.
You’ll let them work on that through the end of the first session.
ROBERT INDIANA ART PROJECT SESSION 2
Word Sculptures
In the second session, you’re going to shift their focus towards his three-dimensional work. You’ll be exposing them to a lot of his word sculptures.
This is where you help them transition into what will become the studio project for this unit that’s all about creating a word art sculpture. So you’re going to walk them through the beginning steps of the studio project in Session Two and then they’re going to finish up the studio project in Session three.
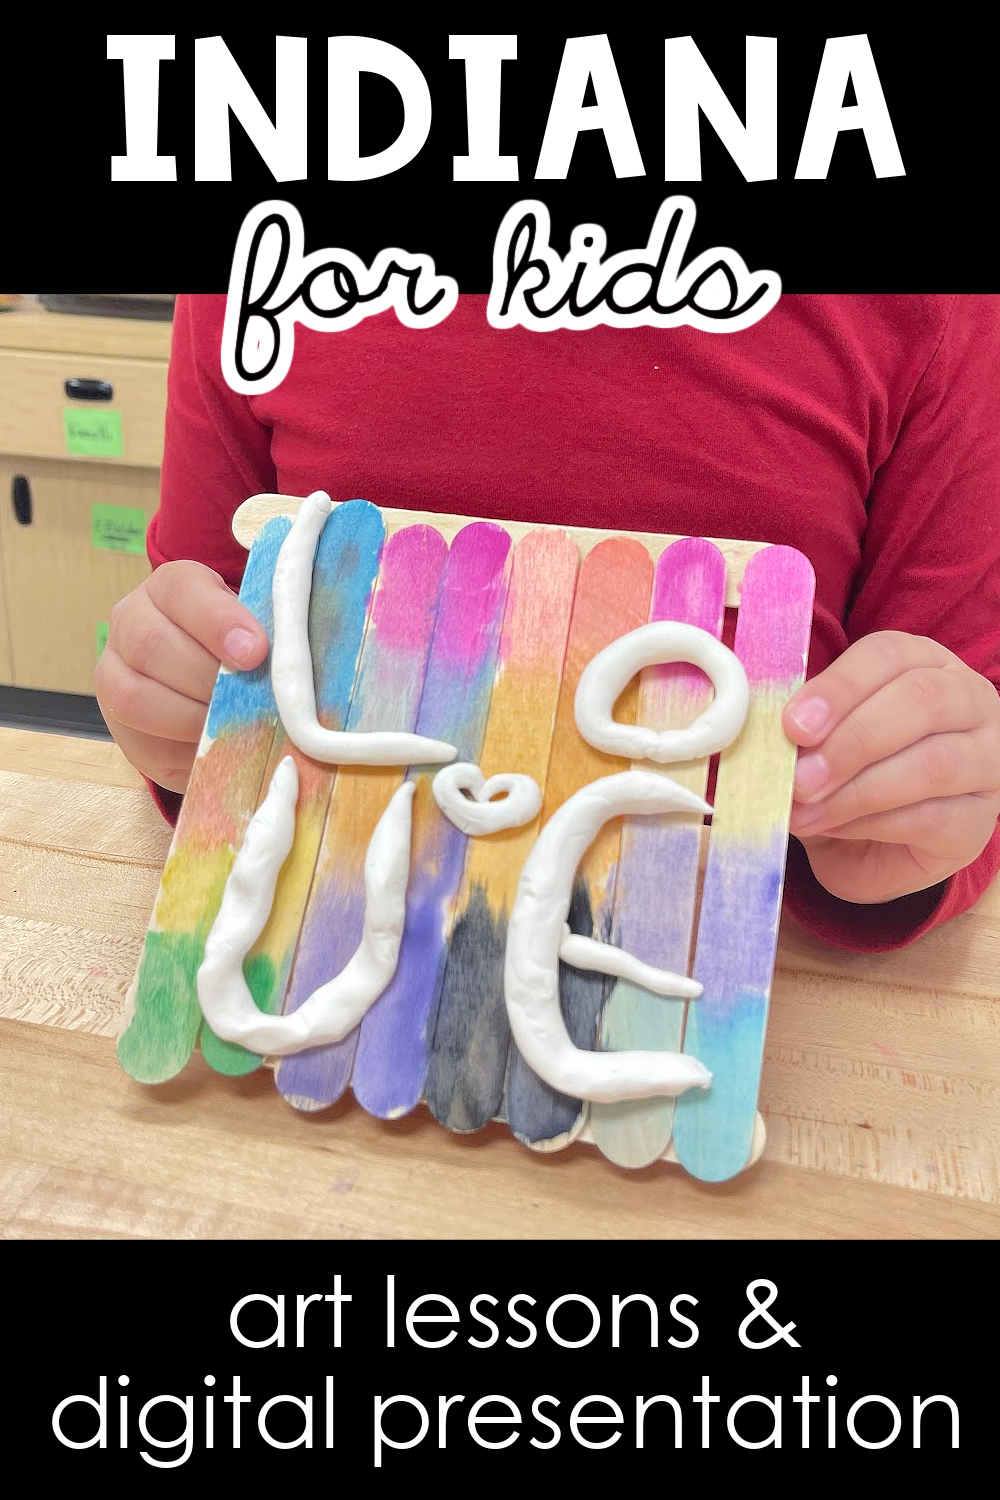
Ultimately here’s where we’re headed: so we’re trying to make a word, but if you look at this carefully it’s kind of three-dimensional – that’s on there with a product called Model Magic, if you’re not familiar.
Start the Studio Project
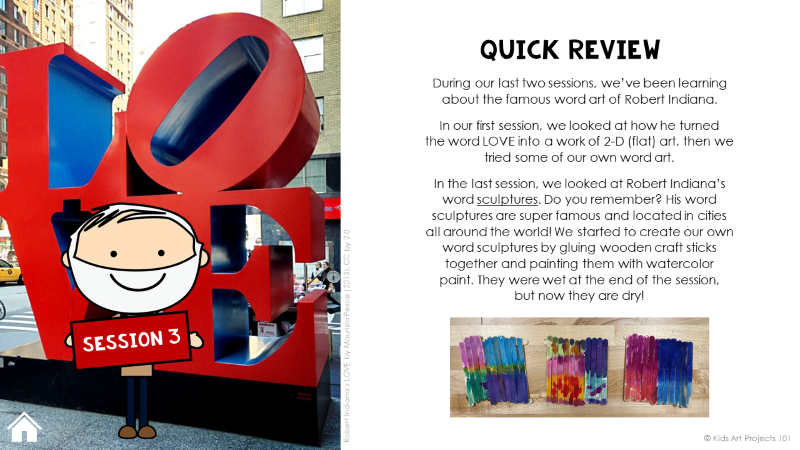
What they do in studio Session Two is create this base. It’s just made out of popsicle sticks. So you’re going to basically be having them lay down on the table two popsicle sticks.
Then I recommend that you go run around and put a line of glue on each one of these and then have the kids set up – you should be able to fit twelve popsicle sticks, sometimes it’s eleven, sometimes thirteen.
What I do is just put a pile of popsicle sticks in the middle of the workspace and let them grab as they go. You’re going to have them create this wooden base. Luckily, you’re using school glue for this and it dries pretty quickly.
As soon as they get that of set up, you’re going to quickly transition into the idea of adding color to it. You don’t need to color both sides, you’re just going to be coloring one side.
If watercolor felt overwhelming, of course, you could do that with markers as well. The kids in my experience love the idea of painting wood. And the other thing I notice when kids work on the popsicle sticks – they must be coated with something.
I have no idea what, but you get more vibrant colors if you do two or three layers of watercolor paint. Sometimes the paint beads up. It almost feels like there’s something on there making the wood resist the paint but it gives way eventually. I mean the paint will sink in and ultimately it seems to adhere just fine. But just heads up about that.
You could paint with any other kind of paint too. If you wanted to do acrylic paint or craft paint of any kind, that would work too. At the end of the session, ultimately, this is what we are aiming for. They have created the wooden base and they have added color to it.
ROBERT INDIANA ART PROJECT SESSION 3
Continue the Studio Project
So then when they transition into the third session, that’s where you’re going to really be working with Model Magic. Like I said, if you haven’t worked with Model Magic, it’s a product by Crayola. It’s just a nice halfway point between playdough and clay.
What I love about Model Magic is that it is not really messy at all. The kids don’t even have the feeling that they need to wash their hands after working with it, which will ultimately save you a ton of time. It does for me at least. You’re going to basically be handing each child a ping pong ball or golf ball sized portion of Model Magic.
In Session Three, you’ll present a couple fun facts first, but then you’re going to present a sequence of steps that they’re going to navigate through independently.
The first one has them taking that little chunk of Model Magic and breaking it into four parts, four equal-ish parts. Then they’re going to kind of roll each one of those into a little snake. I call it an earthworm. Call it whatever you want.
You can model the technique of rolling it on the table or rolling it between their hands. Basically, you want that Model Magic to be a linear form so that when they lay it on the table, they could easily see how that would be manipulated to create letters.
They are going to pick a four-letter word of their own. Now, if that seems above the level of where your kids are, you certainly can pick the word for them. Have them all do the word LOVE or all do the word HOPE, or some other word. They can do their name if they happen to have a four-letter name.
It’s funny, I was talking to my husband about this one and he said why does it have to be four letters? Robert Indiana’s words are four letters with the two on top and the two on the bottom but I guess I don’t know.
It just didn’t occur to me that they could be any other length, but if you have a kid who’s really ambitious and wants to do their name and their name happens to have six letters, I mean I don’t see why they couldn’t do that. But I typically like to structure it so that they don’t feel overwhelmed with choices.
I told them to pick a four-letter word and then sculpt the letters. And, I’ve done it a couple of different ways:
I have had them sculpt the letters and then they just one-by-one stick them on the wooden base. You do two at the top and two at the bottom.
I have also recently with a group of kids, we used our fingers to manipulate these and attach them to each other. The letters are all connected to each other first.
Just another option to be thinking about. It falls more in line with the way Robert Indiana’s letters were all connected and really feeling stacked. But if the letters flow, that’s okay. They are thrilled to be working with the Model Magic regardless.
But the one other advantage to working with them all connected is that you minimize the likelihood that an individual letter is going to accidentally get flipped the wrong way. That was one issue in the last session I did this with kids.
We seem to run into more of that than I’ve ever run into it before. So maybe model that to the kids as you’re going. But it seemed to help once we connected all the letters then they really understood okay the glue goes on the back and we attach that.
If a piece goes on backwards, it’s not the end of the world. There’s quite a bit of drying time involved with that glue. So, they can always pick it back up and flip it over.
The watercolor does respond to the moisture in the glue and may pick up a tiny hint of color if you’re flipping it over, but I don’t normally hear one single child complaining about that. I tend to have them leave the letters white, but if you wanted to have the kids take that extra step and add color to the letters of course you could do that too.
I like the white because it has a lot of contrast and really helps, I think, viewers understand that this was really all about the word.
Anyway, that will bring you to the end of Session Three. When you are done with Session Three, basically you just need to find a place to leave these to dry. The Model Magic stiffens over time. That’s what’s cool about the Model Magic, as opposed to other types of modeling materials, is that it partially stiffens.
It always has this sort of foamy quality to it, but it does lose its plasticity. So you can’t like take it off and reform it into something else but it always has a little bounce to it that you don’t get when you’re working with clay or even playdough. So that would take you to the end of Session Three.
Early Finishers
If your kids are getting done early you can play it by ear. You could put in some early finisher options. I threw a couple in and these are more like coloring page setups and so you have the option of doing the word LOVE the word HOPE. And again, you could put one stack out at Session Three and one stack out at the end of Session Four or you could let them all choose. That’s totally up to you.
ROBERT INDIANA ART PROJECT SESSION 4
Sculpture Stand
So for Session Four, which is our final session in this unit, you are going to have them take care of one last step with the the creation of the sculpture. At this stage, at the end of Session Three you’ve got it like this and it just needs time to dry.
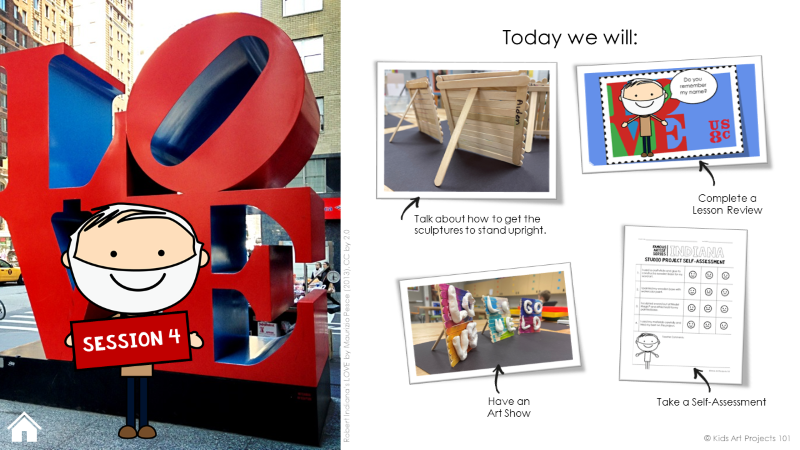
Well, in Session Four, what you want to walk them through is real quick process to make this thing prop up. Someone could attach a hook or something to the back, but otherwise it doesn’t really have that stand-up sculptural quality to it.
So what I came up with was the idea of adding one extra popsicle stick. That happens in Session Four, we just put a little dot of glue there and a little dot of glue there and add an extra popsicle stick. And then you take another stick, and the idea is that you would position this one under here and then prop it up.
Now I noticed as I was experimenting with this, that if you do that on a real slick surface (the tables in my art room are kind of finished wood and the popsicle stick seems to slip right out from under it) but if I put it on a piece of craft foam, even a piece of construction paper, it just needs a tiny bit of traction in order to get that popsicle stick not to slip. And then it seems to work okay.
Art Show
It’s obviously extremely delicate, so if you prop them up so that we can have a little art show. Then I like it remaining loose because then they can just package it like this, to take it home. You can put them in ziplock bags or paper bag and then they can prop it up when they get home.
Again, I think that if you wanted it a little more stable and you were going to put on display in a media center or anywhere, you might you might want to consider hot gluing the end of that, or even a little sticky tack or something right there.
Even Model Magic probably would do the trick. Just adhering that piece of tape could also work. But once you do that, now you’ve got this stick sticking out and that is not the kind of thing that will travel well. So if you’re asking a kid to take it in that state home the survivability on that extra stick is not looking good, I think, if you have it sticking out like that.
So that’s why I prefer to leave it loose for my circumstance but everybody’s situation is different. And so if you like the idea of making it more permanent and gluing that extra stick in place or if you want to come up with a different way to prop it up, have at it.
Lesson Review
So, following that, you can then do a digital lesson review. I include a series of questions and answers that really focus on stuff that was discussed in the the Session One digital storybook.
I put in some blank slides if you wanted to customize a review, based on some extra stuff that you may have covered with them. That’s something you can modify real easily.
And then we have an art show. So like I was mentioning, I like to have everyone prop theirs up. We put them all on a couple tables and then we all stand on the other side of the tables. And I include some discussion, suggestions, just little prompts to get the kids thinking reflectively about how the projects look, and getting them to look at other people’s work instead of just their own.
And if you wanted to, again, customize that discussion or just let it flow organically, that’s totally okay. I tend to wing it in those conversations in the art shows, but if you’ve got a group of very quiet kids and they need a little prompting, these questions and suggestions for them to think about can be really helpful.
Self-Assessment
So the final component is a self-assessment. That’s going to look like this and we’ll just go through the little four components of the self-assessment.
- I used craft sticks and glue to construct a wooden base for my word art.
- I painted my wooden base with watercolor.
- I sculpted a word out of Model Magic and attached it to my painted base.
- Did I get it to prop up?
- I used my materials carefully, and I tried my best on this project.
They are rating themselves on all four of these components with a smiley face, a plain face or an unhappy face. And it’s a self assessment so it’s just meant for them to be thinking reflectively.
Typically, at least in my setting, we don’t grade them or anything like that. So this is just a little opportunity for them to be thinking what did we do in this project? How far did we get? How did I do on each component? There’s a little spot for comments at the bottom where you could customize your feedback to kids if you have the opportunity to do that.
If printing is an issue, as I’ve said with many of our other projects, you could also always just display this document on some kind of projector or if you have a smart board or something like that, even an iPad, that kind of thing, have kids walk through this without actually printing this out and they could respond to this without writing anything down, if you need to save ink or paper, or you just don’t have access to a printer.
Early Finishers
So that brings us to the end. Again, if you wanted to toss in an early finisher option, you could pull back out those coloring sheets and offer them really any of the four. Technically, there would be four total in terms of pages. And they are just extra supplemental things with this unit. You can make any of those available really at any point during the lesson if you have kids who are finishing fast and needing a little extra stuff to engage in.
I hope that you enjoy this one, and I hope that you will agree to share what you’ve made! Photographs are always fun for the group. I would love to see how you approached it. Of course, variations are encouraged and welcome so don’t be shy about any of that. If you have any questions about any of it, or you just want to get some feedback from the group, that’s what we’re here for. So, I hope you have fun with this one! Good luck, and I’ll see you next time!
More About the Robert Indiana Art Unit
Introduce children to famous artworks and details about Robert Indiana in this series of four elementary art lessons. Use the done-for-you digital storybook to look at her famous artworks and introduce students to a brief history of Robert Indiana and typography. Then use the digital presentation with step-by-step art project directions to guide young artists as they create an Indiana-inspired word sculpture studio art project.
Inside the unit you’ll find a 28-page PDF unit guide full of information and tips for teaching this series of art lessons to students in preschool through grade 2.
✨You don’t need a lot of background knowledge of the artist or art curriculum, and you don’t have to do any extra research to teach these art lessons. I’ve included all the details here for you to open and go. Think of how much time you’ll save on planning!
The unit is broken down into four 40-minute sessions.
For each session there is a guided digital presentation that has already been prepared for you and can be used via Google Slides or PowerPoint. The presentation also introduces and guides you through completion of a studio project and follow-up activity.
The 93-page combined PDF and Google Slides full resource includes:
- An original digital storybook designed to expose students to famous artworks and details about Robert Indiana. Curious to know how this works? Click here to watch the narrated storybook to help give you a better idea.
- A typography activity (two variations included)
- A step-by-step studio project guide with clear directions, supply lists, and work sample photos
- Two quick fun facts
- A digital lesson review
- An art show prompt with guided questions
- A printable self-assessment
- Early finisher suggestions
- Blank slide templates

 Gustav Klimt Tree of Life Art Project and Elementary Art Lessons