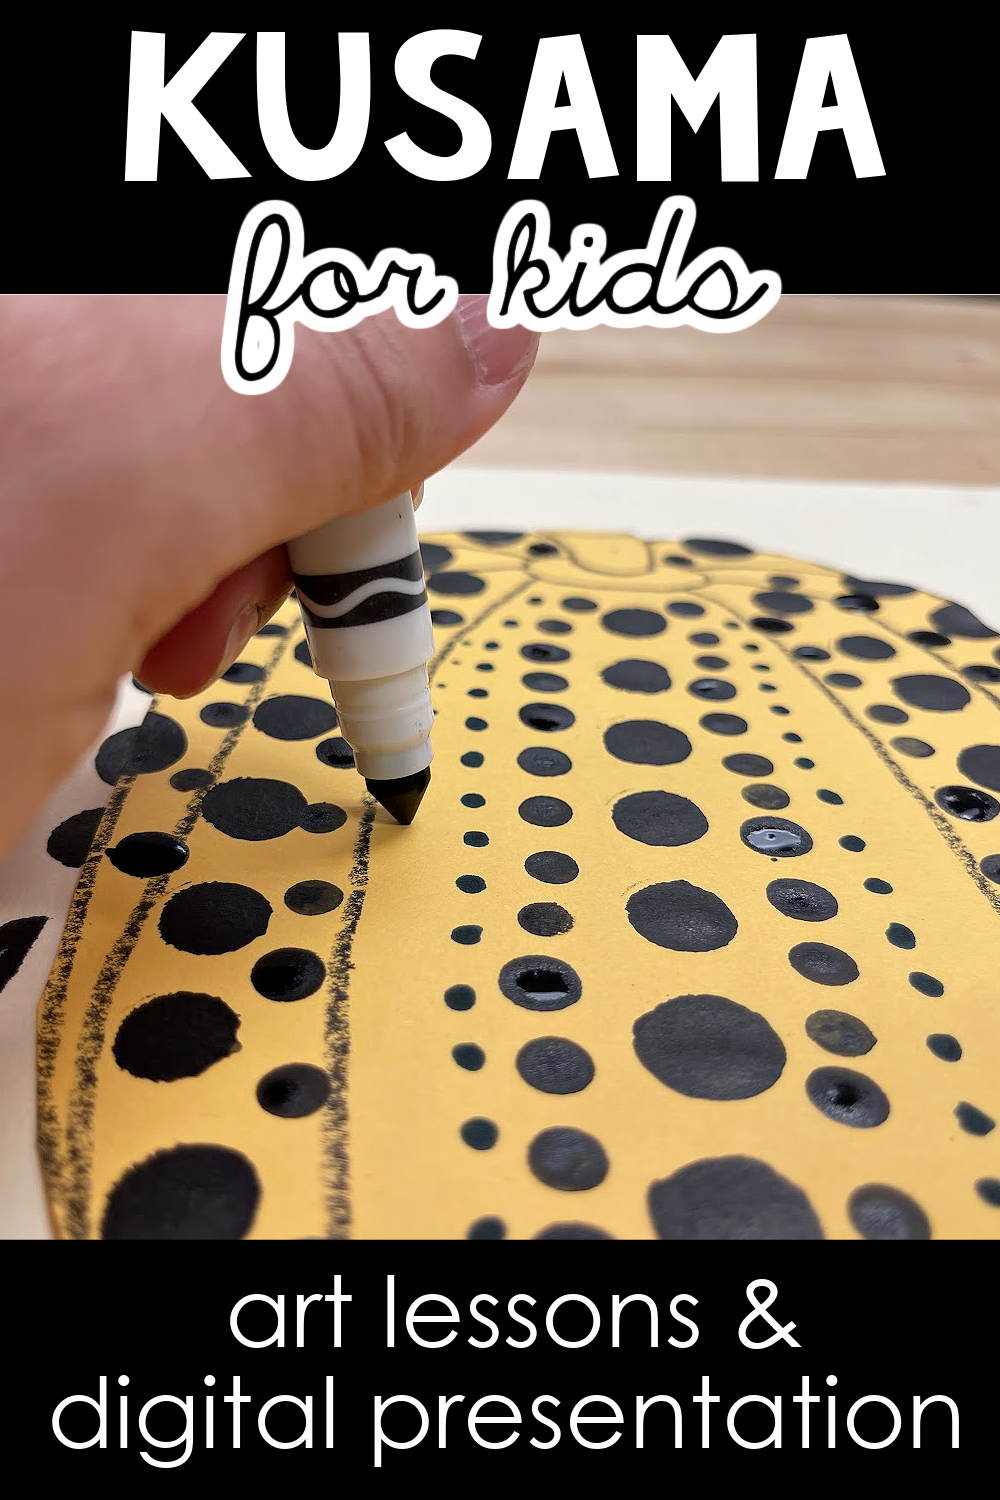
This Yayoi Kusama Dot Pumpkin Art Project is part of my second grade art curriculum. This art project helps young artists explore Kusama’s dots and nets in a hands-on way, while creating their own Kusama-inspired pumpkin art piece. It’s an excellent Halloween or fall art project for elementary students.
Famous Artist Series from Kids Art Projects 101
Why study famous artists?
This approach is awesome because it layers art history connections with guided instruction about the elements of art and principles of design. The scripted PowerPoint format can be easily utilized in a variety of settings. In this video, I share specific tips and considerations to help you easily implement the unit.
Watch the video, or read the transcript below if you prefer.
Video Transcript
Hi Everyone,
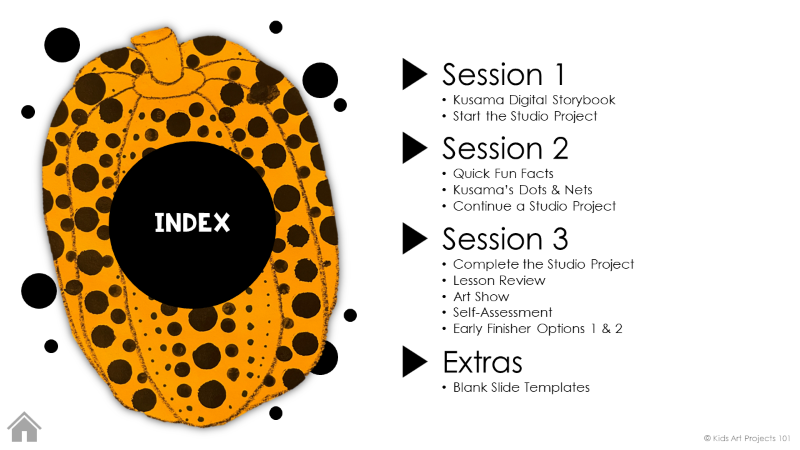
I am so excited to share with you another installation in our Famous Artists Series. This one is about the Japanese Artist, Yayoi Kusama. The purpose of this video is to give you an overview of how to set up the unit so that once you get started with your kiddos, you can hit the ground running. So let’s dive right in. This one is organized into three sessions, ideally 40 to 45 minutes each. However, if you need to modify it to meet your needs, you should be able to.
YAYOI KUSAMA ART PROJECT SESSION 1
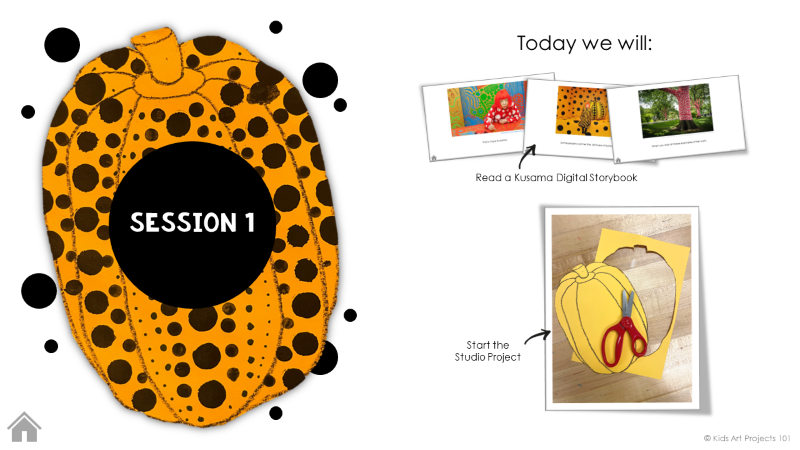
Kusama Digital Storybook
Now in the first session, you’re going to be presenting a digital storybook. The purpose of this storybook is to give kids a very strong sense of what Yayoi Kusama’s artwork is all about. She is known as the Princess of Polka Dots. So you’re going to be showing them several examples of her paintings, her sculptures, her installations, her infinity rooms.
You are going to try to get your kids to understand what those terms mean through visual examples. You’re also going to be tapping into her obsessive focus on this childhood trauma that she had, where she felt like she was having a hallucination. She was in a field of flowers. She describes having this overwhelming sensation of being obliterated by dots that went on forever.
She describes it as something that felt very overwhelming but, at the same time, gave her a very strong connection, a sense of being a part of the dots. Those dots are a part of the universe and she embeds in this concept, this feeling of love. So it is a positive message.
She reiterates over and over that in her work she is trying to spread a message that we’re all connected, to each other and the universe. So while the concepts that she references do tap into mental health, which can be a heavy concept for little guys, I think it is not too heavy for little guys to make a connection.
So, I hope you’ll agree that I presented this in a way that feels appropriate for young children but feel free to give it a preview and make sure you agree. Feel free to use the blank slide templates. You can reword sections if you prefer.
I wanted to give you full disclosure on that. This does, by her nature, as a person and an artist, scratch the surface of some mental health issues.
On top of being obsessed with dots, she also has a thing about pumpkins. I tried to research what her deal is with her pumpkins, and I found that ultimately she finds that form humorous, lifelike, and warm. So she uses it.
She’s ultimately a pop artist. She uses it in the same way Andy Warhol uses his Soup Cans. It’s a familiar thing she grew up on her family seed farm. The idea of this pumpkin is something that feels warm and familiar for her and she uses that as a vehicle to spread her creative ideas out there. So after explaining that to kiddos, you’re going to transition into the studio project right away.
Start the Studio Project
In Session 1 they are drawing a pumpkin. You want to give them a variety of construction paper colors to choose from and a simple black crayon. You’re going to present a drawing tutorial.
Now I photographed my drawing tutorial and organized it step by step in the slideshow for you, but you are welcome to press pause and do your live tutorial, if you want.
The important thing you want to ingrain in the kids as you do the tutorial is that pumpkins by nature can be lumpy, bumpy, tall, short, fat, skinny, wide, or lopsided.
So the cool thing about drawing pumpkins with little guys is that there’s no wrong answer which can be very comforting to kids who are resistant to drawing with any kind of accuracy.
You can have kids draw a pumpkin that is short and wide, tall and thin, or anything in between. Here are some examples. We already see the dots.
In Session 1, you’re going to be having them draw those contours, just the simple pumpkin shape, that you see outlined in there. Then cut that pumpkin out.
Now, we started on a six by nine-inch piece of construction paper. You could easily scale up, so consider that. But if you do scale up, you’ll also have to scale up your background papers, which is all very doable. It just depends on your end vision.
Also on what kind of tools do you have for dots, because the bigger the pumpkin, the bigger you’re going to need those dots, and you need to think about that. Okay, how are we making these dots in here so that they can also scale up?
So in Session 1, you’re drawing that pumpkin and then you’re having a kid who’s cut it out and that’s it. Then you’re saving it. That takes a full session in my world, so there are some early finishers if you end up having free time after they cut their pumpkins out. I will talk about those after we go through the sessions but that ultimately is how far I typically get with my kiddos in Session 1.
YAYOI KUSAMA ART PROJECT SESSION 2
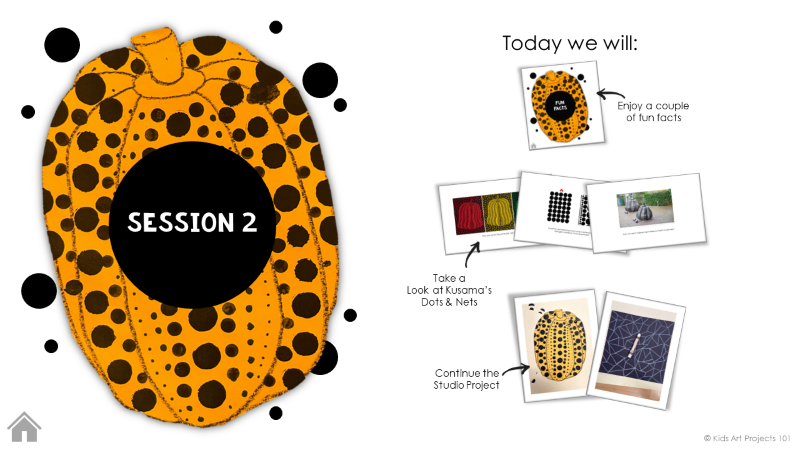
Quick Fun Facts
In Session 2, you’re going to present some fun facts. Those fun facts are ways to hone their attention back in on the artist that you have been focusing on with this unit.
Kusama’s Dots & Nets
Then you’re going to look specifically at some images of Kusama’s dots, like how she actually does her dots. They’re not all even. It’s not a very even pattern of thoughts although it’s quite methodical. They start big, usually in the middle, and then they get smaller. Then they get even smaller. Then they get even smaller. It’s a nice opportunity for kids to practice a slightly more complex polka dot pattern.
Continue the Studio Project
You’re going to be challenging them to try to create that pattern on their pumpkins. Now they do this with a stamping technique. I typically have the kids stamp large dots with Bingo daubers.
Now I’m going to show you an example of what that looks like. If you haven’t seen these, they are fantastic. I ordered a class set on Amazon and I have no regrets. You spin the top off and that’s India ink in there. You can put tempera or other stuff in there but I love India ink because of it’s nice rich coverage.
You can put different colors too. But for this project, we use black india ink. If you don’t have a class set of these and do not want to order it, there are plenty of workarounds. Lots of people use these circular sponge brushes to stamp. You can get sets of these at the dollar store. They come in a variety of sizes, so get creative.
But, ultimately, you’re going to have the kids dipping this onto your stamping ink and then onto their pumpkins and making a clean row of large dots down the middle of each column.
I should mention the messy mat. Of course, you’re going to want to put something large down. It doesn’t have to be this color. It doesn’t have to be this exact size, but you are going to have to put some kind of placement down because, as you can see from leftover remnants here, it’s printed right on the rim.
You need somewhere for that extra part of your stamp to carry over. Better for it to be a messy mat with ink because it can create a mess. It’s ink, so it’s permanent.
So the second thing you’re going to do is have them add a medium row of dots. Now if you look at this one right here. You can use a variety of stampers to achieve your results, but I go with pencil erasers. I have found a nice clean brand new eraser is a great rubber stamp.
However, this worn-down old pencil eraser, which I have plenty of in my art room, works as well. You want to avoid half-used erasers that are not flat. You need that flat rubber surface in the shape of a circle to get a good circle stamp.
So you’re going to add rows of mediums, and then that ink dries pretty quickly. It settles into the paper, but it’s still a little wet. You want kids to be very mindful about how they grip their marker.
For the last step, you can use Sharpies. I use water or Crayola markers for this. Make sure that they hold the marker straight up and down, and they’re going to add a row of small dots onto their pumpkin. Now you may find if there’s extra room they could continue to add those.
They’re going to find that in some of these extra sections, they don’t have room. So that’s where they make some decisions artistically on how to finish up this dot pattern. Now that’s just phase one of the studio component in Session 2.
In Session 2 you also have to work on a background paper. Set the dotted pumpkin aside to let that ink dry up. If the kids need to wash their hands because some of them will get the ink on their fingers. But the next step is all about making a background paper.
Now Kusama references her patterns that resemble this as nets. Again, it goes back to that same concept of everything being covered in dots. This idea of everything being covered in nets is something that a lot of her earlier work and a lot of her later work too, references that it’s a very similar concept.
So that seems to be where she’s going with these patterns she uses in a lot of her pieces. This is a fun one to do with kiddos because you’re just making jagged straight lines all over the page. Now you can offer a variety of paper colors for this too.
If you do, you want to notice that a lighter paper needs a dark crayon and a darker paper needs a light crayon. If you use oil pastels, like I did in this, you can try to use other colors besides just white and black. It depends on your group.
If you feel they’re a group that can handle a little more complexity and you want to push that variety, offer some options. Some groups need to keep it simple. So if that’s the case for you, everybody gets black paper and everybody white crayon, and have them go. There is a demonstration in the sideshow.
I walk them through a suggestion on how to create that, but the truth is there’s no wrong answer. They just need to fill it up. You can literally say, “Fill it up with triangles in the background,” if that seems to be a little bit more of an accessible approach for them. That’s it.
Session 2 is all about dotting the pumpkin and adding that netted pattern to a background. Leave them separate, and continue to let the ink dry on that pumpkin until Session 3.
YAYOI KUSAMA ART PROJECT SESSION 3
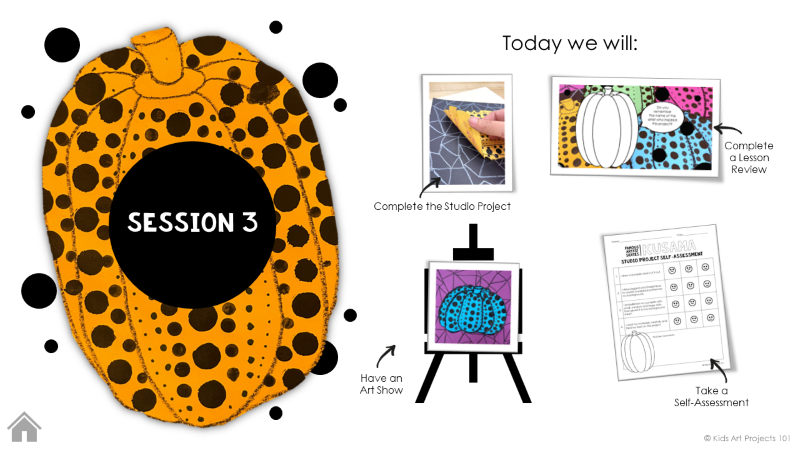
Complete the Studio Project
Now Session 3 offers one final step for the studio project. That’s using a glue stick to attach the pumpkin to the background. Now they attach it right in the center. It’s a very quick step and I have a slide that demonstrates how to apply that glue but you may not even find that necessary. You might be able to just have your kiddos glue the pumpkins on and that’ll be enough. You’re going to then transition into a lesson review.
Lesson Review
I offer some examples of review questions in a slide show. I put some blank templates if you want to customize your review. Then you’re going to facilitate a student art show in class.
Art Show
I recommend having them spread out all their works on the tables or on the rug. If you have the room, form a big circle around the works and talk about the works. Learning how to talk about art is a huge part of art class and I’ve offered some conversation starters in the slide show.
Feel free to use those. Feel free to come up with your own. Feel free to let that conversation with your kiddos be organic and just talk. If they’re a talking group, you may not need to structure it. But once the art show is over the last step is a self-assessment that is printable.
Self-Assessment
It is something that you can leave digitally and just talk to the kids about it. If they are real young guys and they’re not reading yet then you’re going to need to read this one out. I usually do this one with second and third graders, and they can read just fine.
If you want to print this out and you have access to a printer and paper, this is something that can go home with the work to help families understand what this project was all about.
There are four indicators on here to go along with the queestions.
- I drew a pumpkin and cut it out.
- I drew Jagged and straight lines to create a webbed pattern for my background.
- I embellished my pumpkin with small, medium, and large dots, and then glued it to my background paper.
- I used my materials carefully and tried my best on this project.
There’s a spot for comments down here if you do print these out and you want to actually give kids feedback. They love feedback but that can be time consuming if you have a lot of kiddos. Just be aware that that’s an option.
That brings you to the end of the unit.
Early Finishers
There are some early finisher suggestions. There are two fabulous storybooks written about Kusama that you could, if you happen to have a hard copy, read aloud to the kids if time permits at the end or anywhere in the unit.
If you have extra time, there are free read-alouds online for both of those stories if you don’t have a copy. You can also find one at a library, of course.
Then I have some printables that you could copy in advance and have on deck, if you have one or two kids that finish early, but the whole group in general needs more time.
One is a printout of a pumpkin. If anyone who really needs some practice on those dots, like how to make the pattern of big medium and small dots, you can use these as practice sheets. You can use them as early finishers.
This one is another essentially coloring sheet, but in the slide show, you show lots of examples of her artwork where she’s taking things like flowers and adding dots to them, so this gives them a chance to explore that idea, something non-pumpkin like.
Then the last one, I purposely put it very, very light there because ultimately these are just sort of guides. This one challenges kids to design a dramatic Kusama inspired outfit for one or both of these people in this printout.
So just some things to have fun with if time permits. That is it.
There are tons of great videos online that you might want to tap into it as well. There are time lapses of some of her obliteration rooms. Created with visitors and sounds and that kind of thing.
This is not appropriate for kids, but for you personally, if you’re interested in her, there is a fantastic documentary called Infinity that I have I just recently watched again. I find it fascinating.
So that will give you a little more context about her, if you’re interested personally, but that’s it.
I hope you have fun with this one. I think it’s a great one to tie into around Halloween, of course, because of the pumpkins. But because it focuses on an artist, it’s not such a celebration of Halloween itself, so it’s a way to keep your projects seasonal without going over the top straight up Halloween.
Of course, you don’t have to do it around Halloween. The concepts are universal and can be applied at any time of the year.
That’s it! I would love to hear if you have any questions or success stories or struggles. Let me know. That is what this group is all about. That’s it! Enjoy, everyone!
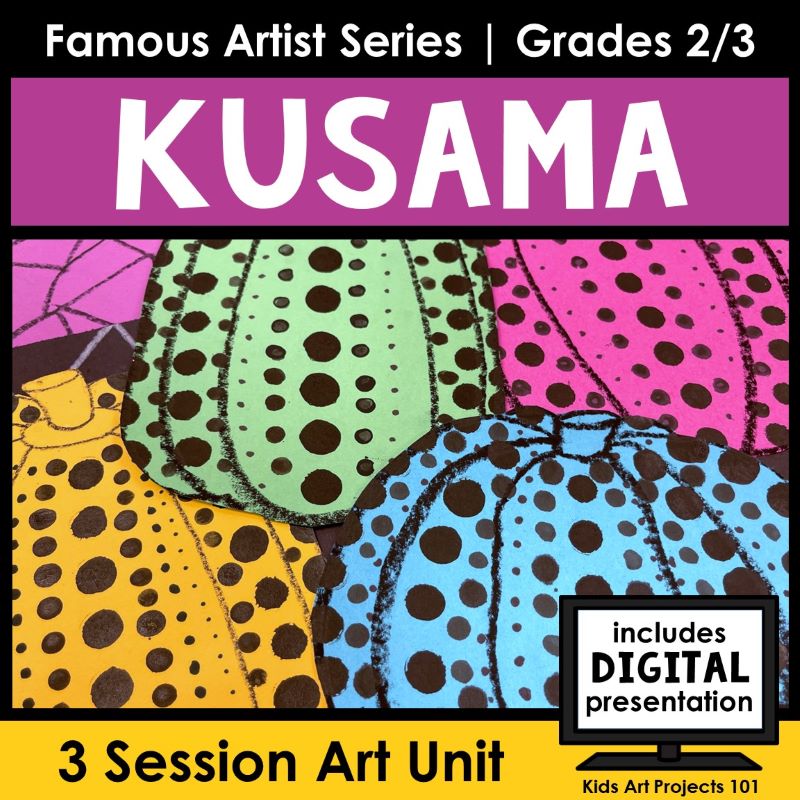
Introduce children to famous artworks and details about famous artist Yayoi Kusama in this series of three elementary art lessons. Use the done-for-you digital storybook to look at the works of this famous artist and introduce students to a brief history of Kusama. Then use the digital presentation with step-by-step art project directions to guide young artists as they create their own Kusama-inspired dot pumpkin art project.
Inside the unit you’ll find a 25-page PDF unit guide full of information and tips for teaching this series of art lessons to students in second or third grade.
The unit is broken down into three 40-minute sessions.
✨You don’t need a lot of background knowledge of the artist or art curriculum, and you don’t have to do any extra research to teach these art lessons. I’ve included all the details here for you to open and go. Think of how much time you’ll save on planning!
For each session there is a guided digital presentation that has already been prepared for you and can be used via Google Slides or PowerPoint. The presentation also introduces and guides you through completion of a studio project and follow-up activity.
The 118-page combined PDF and Google Slides full resource includes:
- An original digital storybook designed to expose students to famous artworks and details about Yayoi Kusama
- A step-by-step studio project guide with clear directions and visual samples
- Quick fun facts
- A look at Kusama’s Dots & Nets
- A digital lesson review
- An art show prompt with guided questions
- A printable self-assessment
- An early finisher literacy connection option
- Three printable early finisher drawing activities (Kusama-inspired pumpkin, flower, or fashion)
- Blank slide templates

 Robert Indiana Art Project and Elementary Art Lessons